Installation
Installing Blankly
Before you do anything, you will need to install the Blankly CLI. If you've already installed the Blankly pip module, you may skip this step.
Open a terminal and run:
pip install blankly
Make sure you're using a supported version of python. The module is currently tested on these versions:
- Python 3.7
- Python 3.8
- Python 3.9
- Python 3.10
Creating your model
Once you have the CLI installed, create a directory to store all the config files and trading logic for your model.
mkdir my-first-bot
cd into this directory, and then run blankly init. This command will ask you some questions about your model and then create any nessecary files for you.
cd my-first-bot
blankly init
Without an Exchange
If you don't want to connect to an Exchange at this time, you can select the Keyless/No Exchange option when the CLI prompts you for an exchange.
$ blankly init
? What exchange would you like to connect to? Keyless/No Exchange
? Would you like to connect this model to the Blankly Platform? No
✔ Generated files
✔ Done! Your model was created. Run `python bot.py` to run a backtest and get started.
Connecting to an Exchange
We recommend connecting your model to an Exchange. This will give you better backtesting, live data, and the ability to deploy your model live with blankly deploy.
$ blankly init
? What exchange would you like to connect to? Coinbase Pro
? What type of model do you want to create? Strategy
? What template would you like to use for your new model? rsi_bot
? Would you like to add keys for this exchange?
You can do this later at any time by running `blankly key add` Yes
? Give this key a name:  (Optional) trade-bot-key
? API Key: ********************************
? API Secret: ****************************************************************************************
? API Pass: ***********
? Is this testnet/sandbox key? No
✔ Checked Coinbase Pro API Key
✔ Your API key for Coinbase Pro was added to this model
? Would you like to connect this model to the Blankly Platform? No
✔ Generated files
✔ Done! Your model was created. Run `python bot.py` to run a backtest and get started.
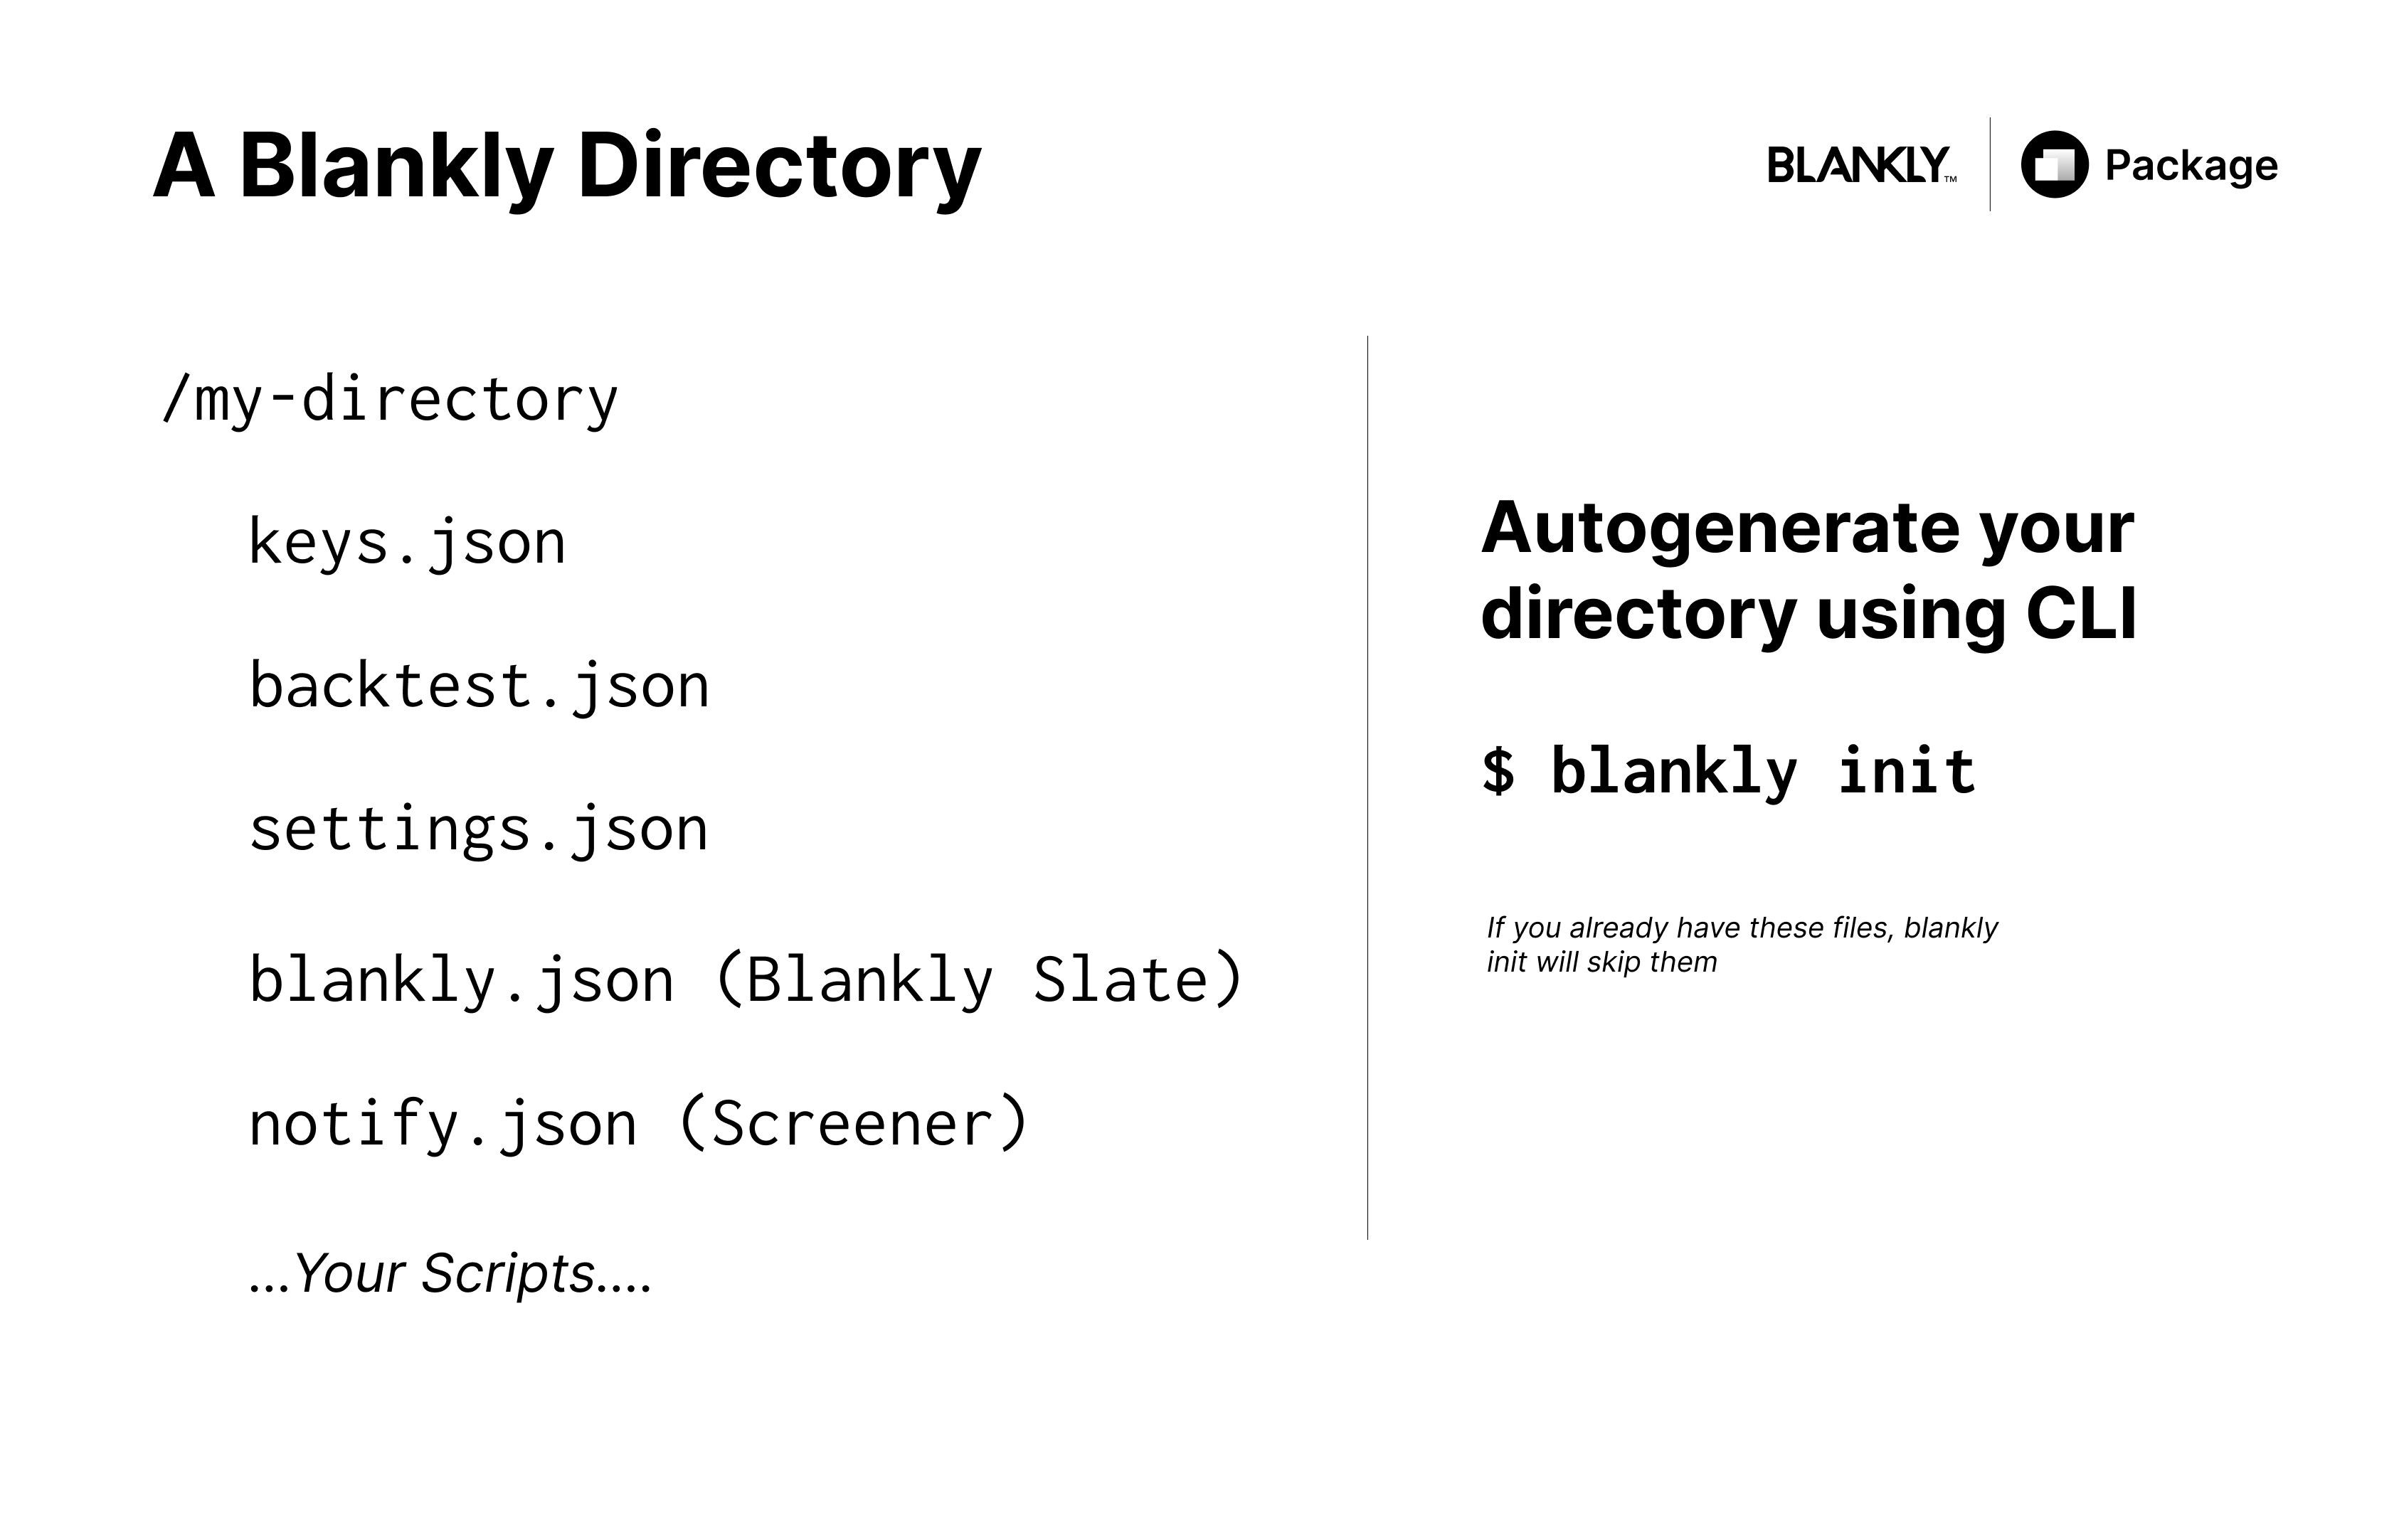
This command should make a directory similar to this
Blankly Platform
The blankly init command will ask you if you wish to connect your model to the Blankly Platform.
? Would you like to connect this model to the Blankly Platform?
We recommend connecting your model. If you answer yes, you will be prompted for some more informatino about your model, and asked to login or create an accout on the Blankly Platform if you were not already logged in.
? Would you like to connect this model to the Blankly Platform? Yes
? Would you like to create a new model or attach to an existing one? Create new model
? Model name? my-first-model
? Model description?  (Optional) test model for the platform
? What team would you like to create this model under? Create on my personal account
✔ Created model
Connecting your model will enable features like improved backtest viewing with metrics, running backtests in the cloud, sharing models and backtests, and deploying your model live.
Run a backtest
You're done! You can now run a backtest by running:
python bot.py
This will run the backtest over the time specified, and show you the results in your browser.
You can see more metrics in the terminal, or on the platform if you have connected your model.
Deploying your model
Deploying your model to the cloud with Blankly is dead simple. Just run blankly deploy:
? Select a plan: medium - CPU: 300 RAM: 400
? Enter a description for this version of the model: first version of model
✔ Model uploaded
That's it!